Monday, July 27, 2015

The first Davis DA-2.

That, is a Davis DA-2.  Well... importantly it's the first Davis DA-2.  Some nice people flew it to oshkosh this year.  Sadly I didn't get in touch with them soon enough, so I didn't get a personal tour of it.  It was nice to get to see the original, and see how Leeon did it the first time around.  

My interest in the DA-2 is somewhat more than in passing, so I took a lot of pictures.  And with permission, from Giff, who's half owner, here's what I took.  He does call her Ugly Betty, so any of the rough edges.. well I assume he's aware of.  


Wednesday, July 22, 2015

Playing with my [gim]balls.

One of my goals is to have a "small" camera platform.  Part of getting there, is to have a gimbal to keep the camera steady, and aimed.  That means gimbals. 

In my latest order, I grabbed two cheap gimbals. 

This one is one desgined for the mobius.  It uses two 9 gram servos, and is really quite confidence inspring. 

I expect it'll do everything one can expect of a 2 axis gimbal.  I assembled it using some thing CA.  It went together fairly easily.  The only trouble spot was the servo arm on the bottom of the gimbal.  That is now just glued in place, no screws.   For about $10, it's a heck of a deal.

I also picked up a GoPro sized gimbal.  (in spite of owning zero gopros..)  It too is a two axis rig.  It uses a 9 gram servo to do the pitch, and a full size servo to handle roll.  
 
 It looks pretty good.  However I think the servo I had for the roll is just crap.  It had a lot of slop in it, so the whole gimbal has a bunch of slack and wiggle in it. 
 
Further reviews will come later, as I fly them.   

Tuesday, July 21, 2015

Nano CPX upgrades

Ah, the Blade Nano CPX.  This thing is a wiley little bugger.  It's so light that it really doesn't want to hover.  It also is massively affected by room air currents.   


And yet.. I still love to fly it.  At least, when I can fly it. I made a mistake.  I decided to upgrade it, in hopes of getting better flight time.  Brushless motors are more efficient, and I thought I could help my desire to fly longer by installing the Horizon Hobby Brushless upgrade kit. 

....  I was wrong.... 

First off, lets talk about the installation.  The manual for installation doesn't go into great detail.  It shouldn't have to, as, at least in theory, the install is easy.  You unplug the stock brushed motor, and slide it out of the airframe.  You slide in the brushless motor, tape the ESC to the 5in1 board.  Next you plug the orange wire into the 5in1, being sure to match the colored dot.  Finally, you plug the power harness into the stock battery plug. 

But that misses at least one important step.  The motor clocking matters.  When you install it, make sure the motor leads come out of the motor as close to the 5in1 board as you can. 

Now you'll notice that there's no accessory harness in this picture.  I have wired the ESC directly to the pads on the 5in1 board where the stock battery connector goes.  This is because that accessory harness ruins the helicopter.  

Allow me to explain.  The 5in1 board has a low voltage cutoff built into it.  To save those expensive little 150mah batteries that Horizon Hobby sells.  This, is a very good thing.  Now the difference between a "good" battery, and a "done" battery, is a few tenths of a volt.  The connectors they use for these batteries, are not exactly high current connectors, so are pretty poor as plugs go, resistance wise.  The wires they use to bring power to the 5in1 board, are also very light gauge. 

This means there's effectively a string of resistors between the battery, and the 5in1 board.  And between the 5in1 and the battery there's this ESC that's trying to suck all the power it can from that tiny little battery. 

Any time there was a big load on the motor, the helicopter shut down.  I tried a variety of batteries, attempting to keep the voltage up under load.  The 25c 150mah cells wouldn't even spin up the rotor.  The 45c cells would work, if it was one of my fresh 45c batteries.  I also tried an aftermarket Lectron Pro 180mah 35c cells, and that had the best results. 

However, even under the best conditions, I was getting less than two minutes of flight time.  And we're talking just gentle hovering. 

After some digging around, I found that people had some good results with bypassing the harness.  I really didn't want to make any permanent modifications to the Nano CPX, but I also wanted my $60 brushless kit to work.  So I cut off the harness.  And I soldered the power leads from the ESC to the most sane place I could think of.  
 
I also read, that some people are flyign the Nano CPX on the 250-300mah cells from the MCPx.  ... I'll be trying that as soon as I can get a harness to adapt the plugs.  I anticipate eight or ten minute flight times. 

In the same package as my brushless kit, I ordered some landing gear.  They look great, and have a tail support boom.  They very seriously make the whole helicopter more rigid.   However they're also significantly heavier than the stock gear, something like three times the weight. 
 

Well they look good off the Nano CPX.  They're not going back on there. 
 Now.. I need to tune the pitch and throttle curves.  And maybe learn to flip this thing.   

Wednesday, July 15, 2015

A Hex upon you


Well not really...  If you're reading this I probally like you.  I got the lighting harness built and installed on the Hex 

Friday, July 10, 2015

Two new miltirotors. A Tarot and a Hex.

Oh, the evils of clearance sales at hobby websites.  Hobbyking had one of their frames listed for $0.99.  Even after shipping, the frames were about $2.50 each.  ... So I bought six.  Just to have around.  

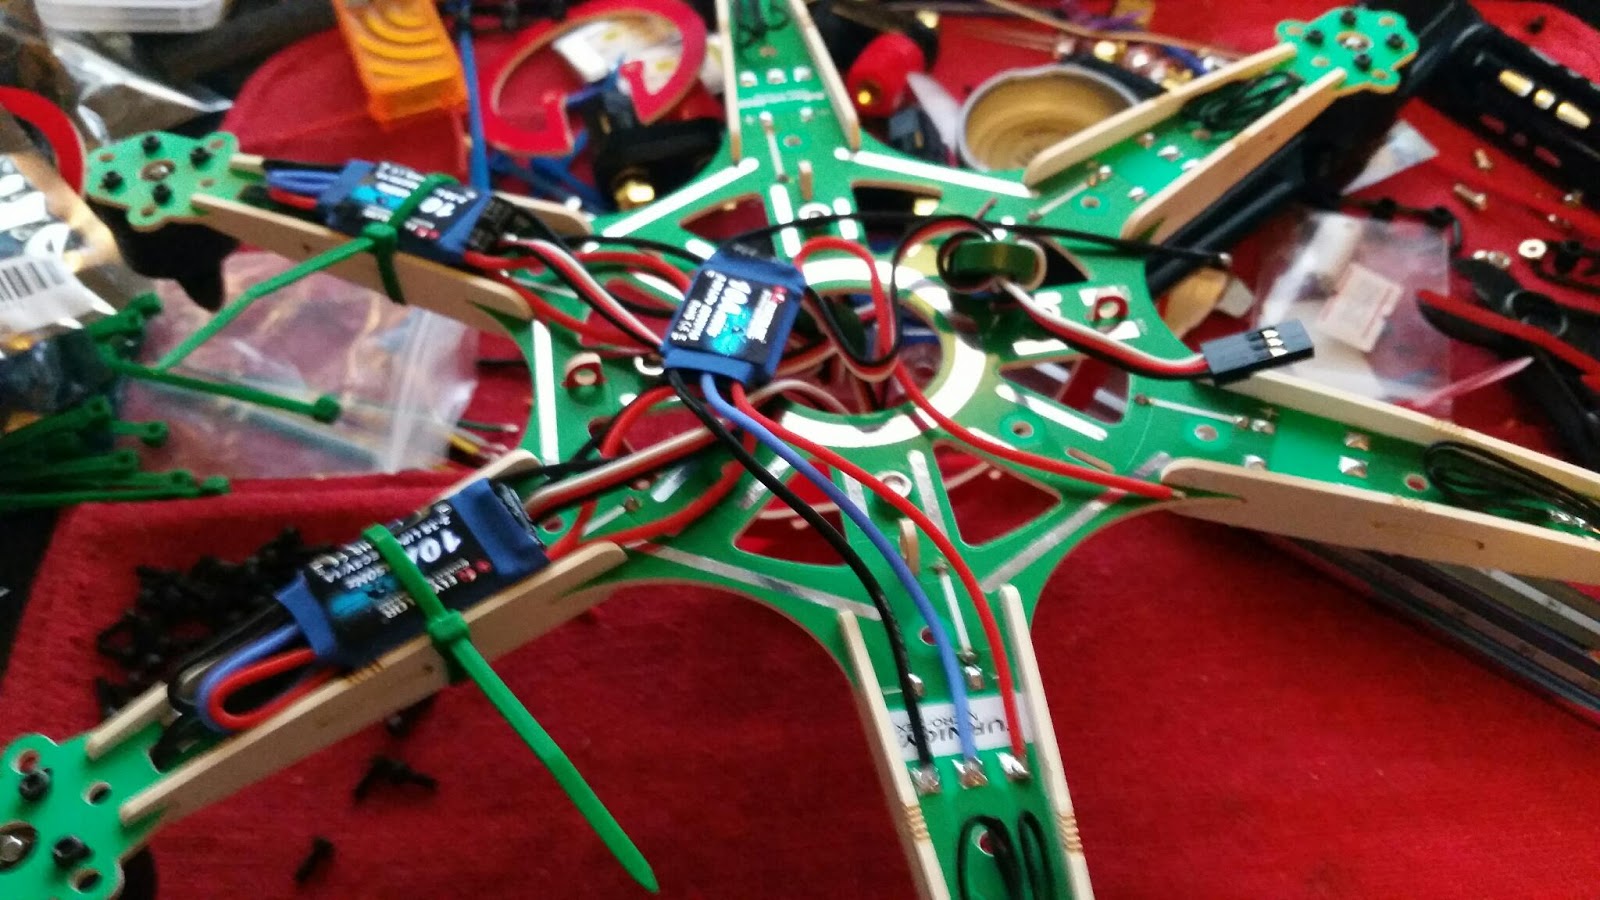
Having that frame sitting, doing nothing, made me a little twitchy.  A little digging later, and I found some cheap motors and ESCs.  Please excuse the blur...  Oh, and while we're at it, as you see here, it's 309 grams.  


I went with flycolor 10amp ESCs.  those motors shouldn't ever draw more than 4-5 amps.  


And with the landing gear on it.  The legs aren't long enough for the batteries I intend to fly.. so this thing will just land on the 2200mah packs.  


Just a bit of a closeup of the bottom of the motor mount.  


Now.. I do need a flight controller, so this thing won't fly for a while, yet.  I think it'll be a camera platform, so I'll be digging up a GPS and probally a fancy FCS for it.  

And then there's the Tarot 250.  It's my only carbon airframe.  I started assembling it tonight.  Sadly, I discovered that they label the motors differently than cleanflight expects.  So I need to re-do all of my soldering on the signal lines for the PDB.  


Once I get the motors spinning the right way, I'll wire directly from the motor to the ESC.  The PDB means there's very little need for point to poitn wiring.  


It does look mean from the front.  I'm going to have the naze32, and reciver on the top deck here.  I need to order a camera and I think I'm going to build up a micro transmitter for it, as this thing is asking for lightweight components everywhere.  As seen, it's about 265grams.  


The Hex was built on the cheap, to match it's frame cost.  Those ESCs are about $7, and so are these motors.  They're a little strange, being mostly made of plastic.  They have metal inserts in the back plate for bolting to the airframe.  There's a metal shaft up the middle, but the prop threads, are plastic! 


I have high hopes for these motors.  They're extremely well packed.  Come with a lot of hardware (four different mounting length screws!)  The bit that impresses me the most, is the datasheet that comes with it.  It lists the expected voltages, the expected performance with known brand props and battery voltages.  I did buy an extra pair of motors.. just in case...  

Lego Cargo Plane, with a bigger motor, it might just fly.

I thought I might share this.  It's a pretty nice little airplane.