I'm going to start this conversation in an unusual place. The sign of a manufacturer being proud of their product, is their desire to put their name on it. This is, more or less, the first part of the car I got a good look at. MST put their logo, on the wheel. Tamiya doesn't even do that. At least, all the time.

Another good clue, is the package of "spare" parts a car comes with. (yes, I have cats..) Screws, spring perches, track adjustment pieces, ride height adjustment bits, ball ends, and a 380 size motor adapter!

So I've burried the lead here, a bit. Lets go back to the begining. Here's the box you get, when you order a MST TCR.

Good looking box, it has some decent graphics on it... on the sides that a customer might see when it's on a asian shop shelf.

... wow, I should have cleaned up the dining room table. But look at that, if it were glossy, you'd assume it was Tamiya. We'll cover everything listed here in a bit.
Now the other side of the box, shows off this chassis's parlor trick. It can be built as a FF, MR, or RR drive chassis. This kit is sold with a FWD body, and the manual details just the FF setup, but.. all the parts are here, we could build it in any of these configurations.

The car is cheap. Retail is around $150. And that includes are very nice Civic body with light buckets and a nice decal set. Many, maybe all, of the design decisions were based around making the car cheaply.
The MST TCR is, for lack of another term, a touring car. But it's a very strange example. A typical touring car, has a transmission, that then drives a differential, and then two, or four wheels. They also have independent suspension. Modern touring cars also typically are double deck. The TCR only hits about half of these points.
Pan cars, like F1, 1/12 scale, World GT-R, all have direct drive transmissions. The rear ends are always live axle. And the cars are usually just a single pan of carbon, or aluminum. While they are somewhat less the rule, 1/12 scale cars typically have the front ends that are strut type, which you don't see on touring cars.
I think the best way to examine this, is to dive into the build.
Upon opening the box, you're presented this.

The details on that body are crisp, and as usual, under the body we have all of the juicy bits.

There's really only six or seven bags, and with so few parts, the "lets do this bag by bag" process kinda falls apart. That said, they did a decent job. I was never left wondering where my parts were.
The decals for detailing the Civic Body.

Happily, the car also came with a setup sheet. My first thought upon seeing it was "this is nuts, what is there to setup? I have a TT01e, and there's just ~nothing~ to do to that car. I have notes about how I treat the diffs and tires, but there's really nothing else I do to it. Boy, was I wrong.

How wrong? Well, I thought camber was fixed (mostly) turns out they have a factory method for adjusting camber. They also have a prescribed method for dealing with ride height. They included a set of 4 spacers to help with ride height as well!

Oh, look, a differential. Funnily enough, that's where we start with this build.


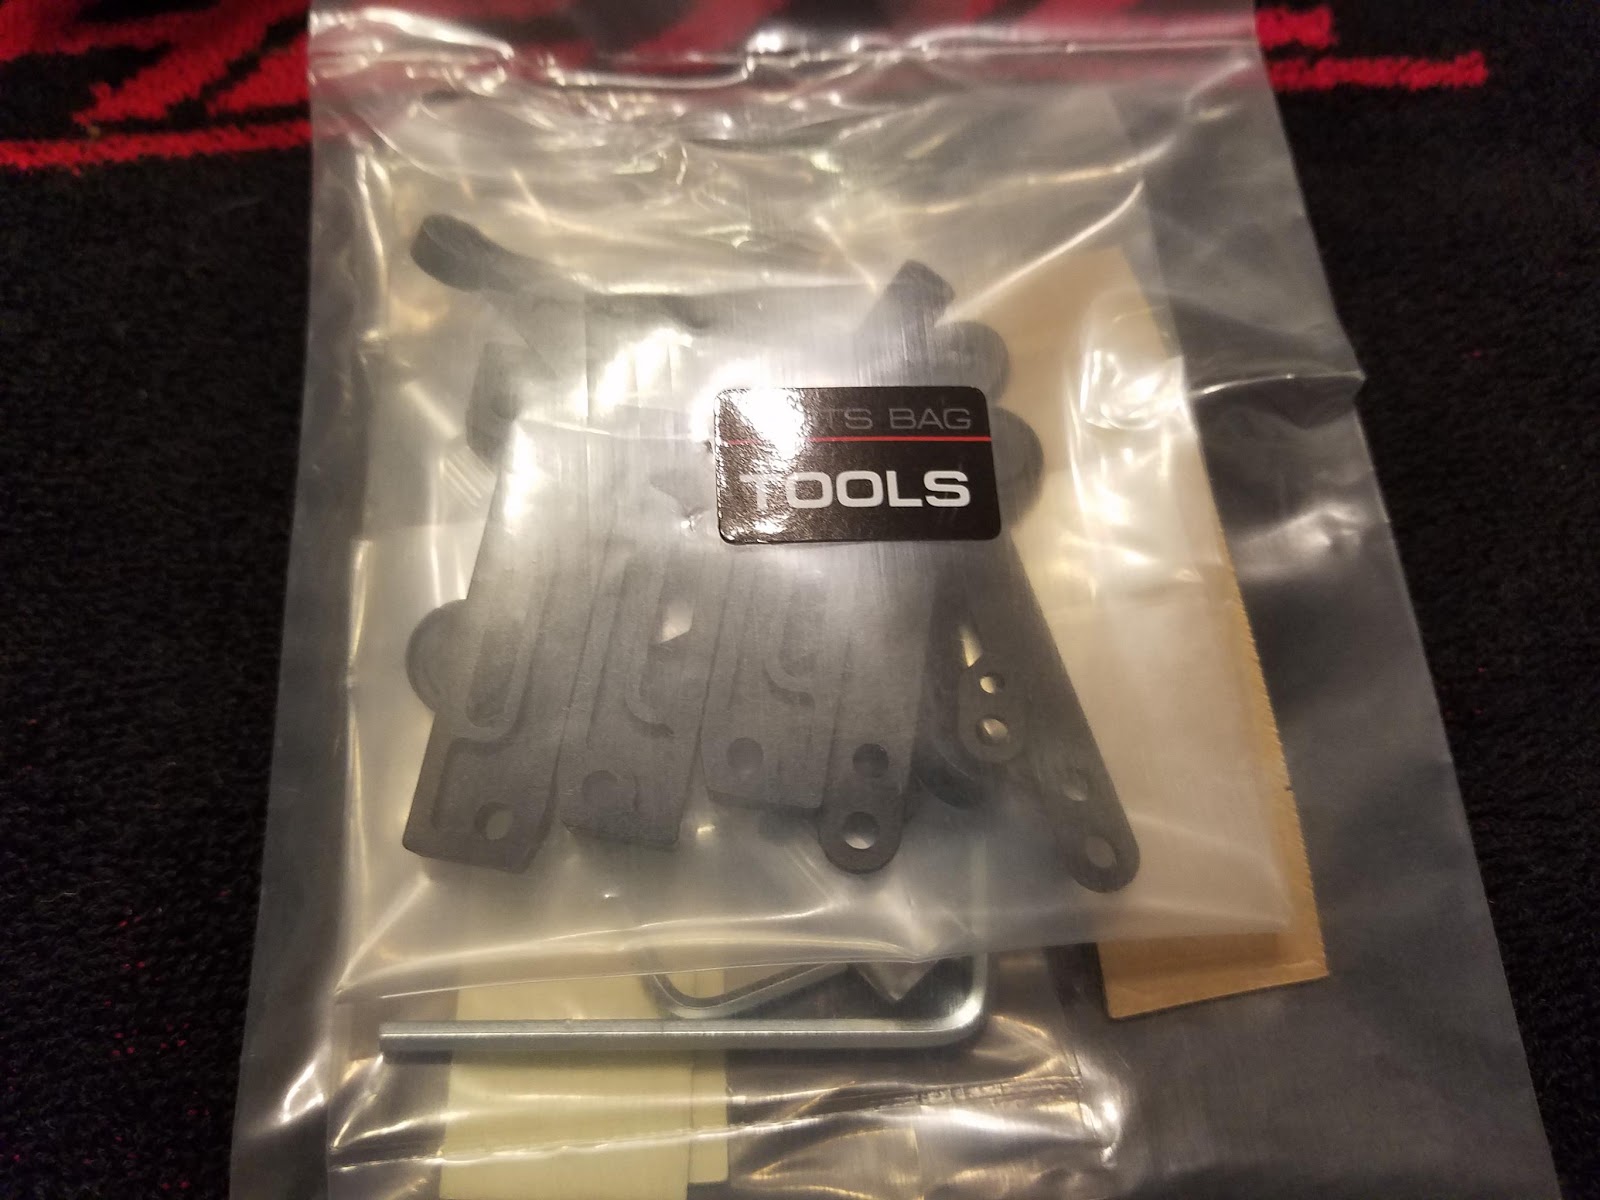
Bag 1, and "Tools" are what we open first.

Cost savings spot number one. These parts are all plastic. Not a complaint. But look at the orginization here. Worthy of note, is they provide different grease for the diff balls, and for the thrust bearing. You also get a spare ball for both the diff, and thrust bearing.
This is also where I ran into my only trouble with the instructions. Each page of instrucions is mostly just an exploded diagram with labels. Sadly, the diagram for the diff, made it unclear what side the nut, and thrust bearing went on the diff. It's clear on this page:

But not, on page one of the manual. Look at that, eggshell finish paper, color printing, colors used to designate materials. It's real artwork. I'm impressed!
Did I mention that the tools bag had tools in it? It really does. They're not "good" tools, but if you're careful, they'll let you build the car.

If this were a pan car, this would be the whole rear axle. What makes this unusual, is instead of fittings for wheels at both ends, it has joints to connect to dogbones. Or.. as is the case in this build, universal joints! And that's where this car becomes a touring car, instead of a pan car.
Touring car rules generally state that you need to have 4 wheel independent suspension. And that's something this car has, even though it's a direct drive type transmission.
Next is to put the bulkheads on the chassis. We get four. There are two types. I have shared this before, but i'm going to say it again. Buy, and use, a M3 thread forming tap. And tap all the holes.

They bolt straight onto the chassis. The screw holes are tapered, so are mostly self centering.
Evidently, I missed taking pictures of attaching the lower suspension supports. They just bolt into the sides, with embedded nuts. For the side with the motor mount, you skip the retention nuts, and just screw directly into the motor mount.

So my head was convinced this was a touring car at this point. As most builds look a lot like this, at this point. But unlike a conventional dual deck touring car, we're ~almost done~ with the build here.
The servo mount screams pan car. Or at least F1 car. This might be my first real complaint about the car itself. I dislike taping servos into cars.

That servo saver, is something to write home about. It centers solidly, and has a nice strong spring in it. The plastic is also very stiff, and taps well. I like it better than almost anything short of x-ray. It certainly goes together easier. Unlike a lot of servo savers, it also can't be screwed up by over-tightening the attachment screw.
Wow, I took a bad picture. But you can see a few things here. First, another page of the manual. Now on the bulkheads, and the servo, you can see the toe links. All of the links (all four!) are detailed in the manual, and have 1:1 scale drawings to compare against, as well as providing measurements so you can do it with calipers.. if you prefer to do it that way.

Both battery mounts are in place. While the servo mount uses M2.5 bolts, the battery mounts use M3. Thankfully.
Ok, lets take a closer look at an assembled end. I hate when I don't get good pictures of the working bits.

The hubs are a different plastic. Speaking of the plastic in this kit, they're filled "something". I suspect nylon, but not a very high fill percentage. So they're a bit flexible still. You can also see the hex hubs. Which have those "for show" brake disks. The holes on the front of the hub, are to mount the fashion brake calipers. You'll note, I left those off.
You can only barely see it, but the car does come with CV joints. The only tricky bit with them, is the pivots are tapped on one side. So check that before you try to install the setscrews.
While we're here, we can talk about the adjustments that can be done to this suspension setup. By putting shims between the lower arm, and the bulkhead, you can do fine adjustments of track, and more importantly, camber. By putting shims under the three balls at the top you can tweak camber gain, and roll center. By putting a spacer under the front or rear of the arm, you can introduce variable caster.
If you move the arm to the outer set of holes, you can adjust the amount of caster gain during steering.
In the front, there's three holes in each hub allowing you to adjust ackerman, and total steering angle.
In the rear, there's something else to tweak. There's two holes in the hub for the link, and three on the bulkhead. By changing those mounting holes, you can tweak toe gain or loss.
Finally, ride height is adjusted by putting shims that go under the bulkheads. Speaking of shims, there's also 10mm of shims that comes with the car to widen the track.
I suppose this means, that the setup sheet, is far from redundant. I'm excited to see what setups come out.
So lets talk about the motor mount. The spur that comes with the car is about as big as it can get. The motor mount only has two motor positions. The car comes with a 15 tooth pinion, I forget the size of the spur. At this time.. the manual isn't online, and the manual isn't at hand, so I can't quote the spur size.

This is probably the biggest point of frustration here. We can't go bigger on the spur, but we can go smaller. We can't go much bigger. Switching to 64 pitch, might provide a bit more there.... But really, since this car is only ~really~ legal for USGT, we just need to worry about getting 3.8:1 gearing.
Speaking of tuning, my car came with silver and green springs, and a complete spring set.

Speaking of tuning, my car came with silver and green springs, and a complete spring set.

I believe this is a temporary bonus.. but I was quite happy to find it in the package. Swapping springs is done by a single screw under each hub. That screw is 12mm long, and provides reinforcement for the sliding part of the kingpin/strut.


So the bare chassis is 337 grams. That's super light. Although without the steering servo, servo mounts, servo saver, and tierods. I think... this could be less than 1000g all up, as a FWD touring car. That's F1 territory. And closing in on 1/12 scale.
I really suggested that I was going to cover how "to a price" this thing was built to. I think we can cover that now.
The parts count on this chassis is tiny. The upper control arms are all the same part. The lower control arms are all the same part. The spherical bearing is all the same part. The front and rear cages are the same part. There are two hubs, and you get two sets to get the 4 for the car. Same for the bulkheads.
Most of the parts of this car, are the same left right, and front back. Talk about cost savings!
Now, the completed car, once you get a servo, and battery in it, sits reasonably well. But grabbing the car and twisting it, leads to some funny thoughts. First, the car bends really easily across the middle. It doesn't have any chassis bits to brace the middle of the car. While the ends are quite sturdy, between the solid bulkheads and cages.
It seems that MST has anticipated this.. there's some holes that are conveniently M3 sized, and in good places for bracing the chassis. This weekends project is going to involve making some braces to put there.
Also, there's the elephant in the room. There's no damping. No shocks. No instructions for applying grease. No apparent plans for stopping this thing from pogoing around. I'd love to find out what people might do to control body motion on this car.
I have another car in my stable, that has essentially no damping. A TT01e Euro Truck. And, amazingly, it works just fine.
There's also that 380 motor adapter. I'd be surprised if it wasn't included for a ~good~ reason. But.. I've never seen people intentionally run 380 motors.
There will be a followup, for this, eventually. Once I run it.... The plan is to run the car in USGT. I am anticipating a hilarious mess. A "quick" car, that's not fast.